Since this past Spring I’ve been reworking some of the trial stitch algorithms I had previously developed. You can read about these previous trials in this blog post about my first fill stitch algorithm, and this one describing my attempt at working with satin stitches.
After being sent home from Carnegie Mellon at the beginning of quarantine last Spring, I spent some time refining these algorithms with the help of a “Residency-In-Your-Room” Micro-Grant offered by the university’s Studio for Creative Inquiry. I wanted to spend time simplifying these algorithms so that they would be more intuitive to able to handle a wider variety of use cases. I also added a few key functionalities to make digitizing and editing stitch files an easy and efficient process.
For the fill stitch algorithm, I actually omitted some of the automated functionality from the previous version. Rather than procedurally generating the order of “stitchable” blocks making up a shape, I decided to leave it up to the user to order blocks and reverse their stitches to fill complicated shapes. In watching some tutorials online that used high-end software, I found that professional digitizers often get better results manually selecting a custom block order rather than relying on an automated process for generating an object’s fill path.
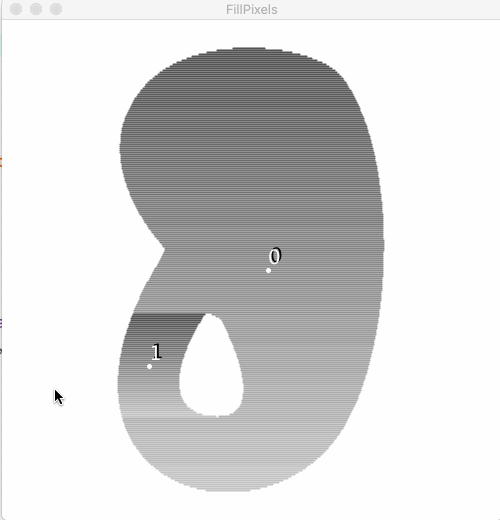
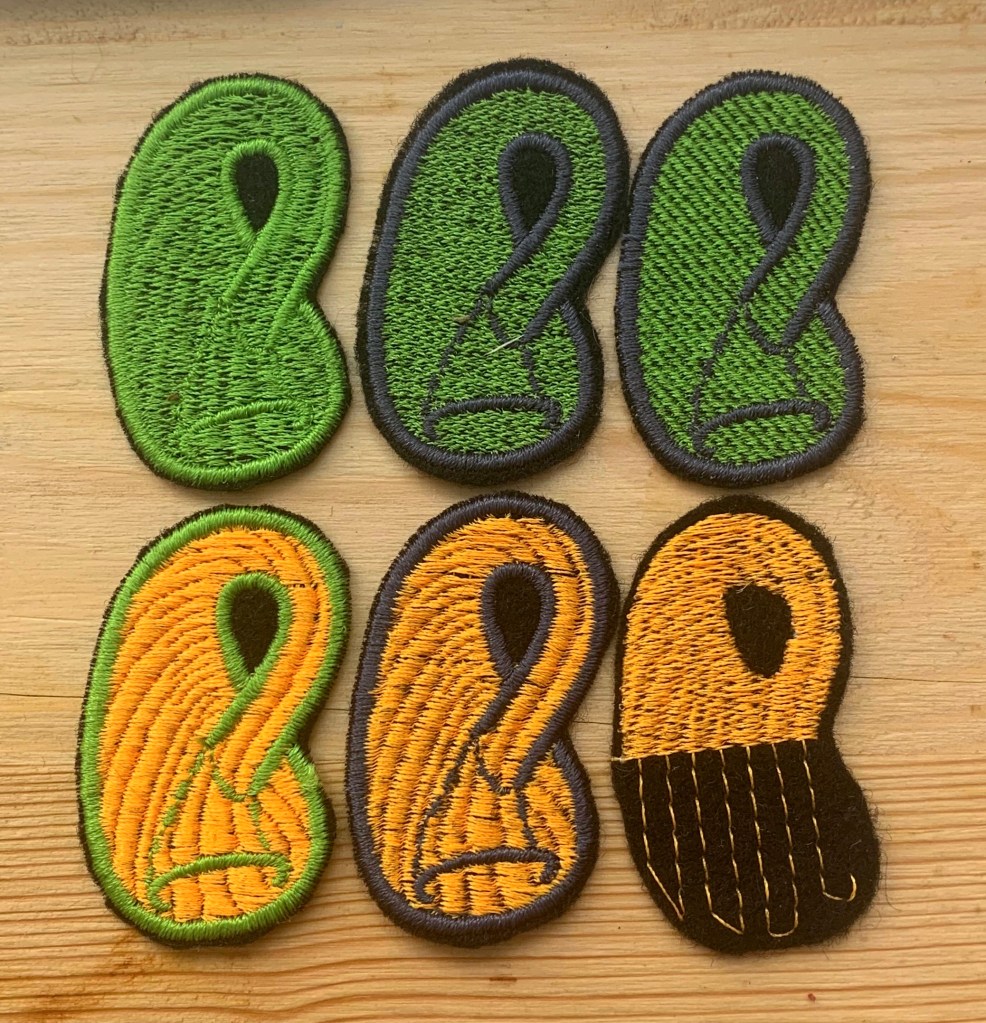
I kept the original functionality of using images to define the internal pattern and found that even for filling with straight lines, it was easier to first generate an image for the program to reference so that I could more easily see what was going on in the underlying texture. Above you can see that I tried making a pattern specifically for this Klein Bottle shape. In the image on the right you can see some variations – including one where I tried alternating from the custom pattern fill to a regular line fill between consecutive rows to get something between the two (top-left sample).

As for the modifications I made to the satin stitch algorithm, I kind of rebuilt the system entirely. Rather than having the user define a single bezier line and extending both edges of the satin stitch from that, I implemented a feature that I saw was used in the Hatch Embroidery Digitizer.

Basically, you alternate placing bezier points along either edge of the satin stitch you want to place. The relative position of each opposing point decides the stitch angle, and the distance between them obviously determines how thick the satin stitch will be. In reworking this algorithm, I also made it so that points are sampled consistently along the entire curve, rather than dealing with each section of it discretely. This eliminates any weird transitions between segments of the curve and makes adjusting stitch separation a whole lot smoother. You can see this in action in the second part of the gif above.
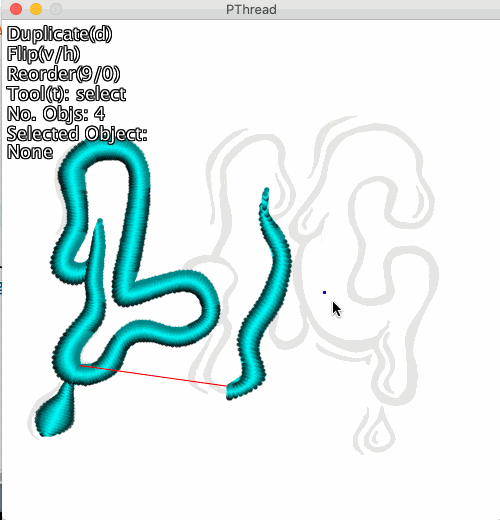
Finally, I added two other separate tools to this program for digitizing straight stitches:
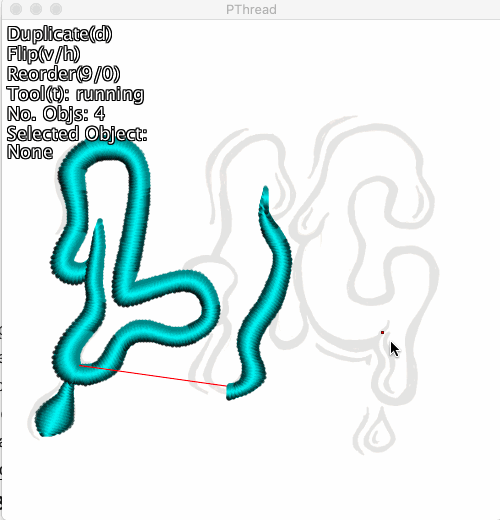
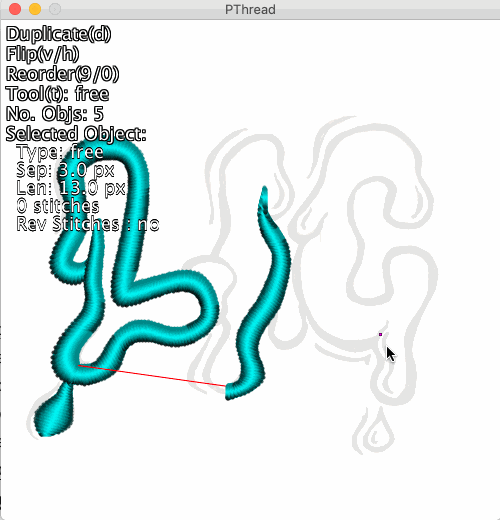
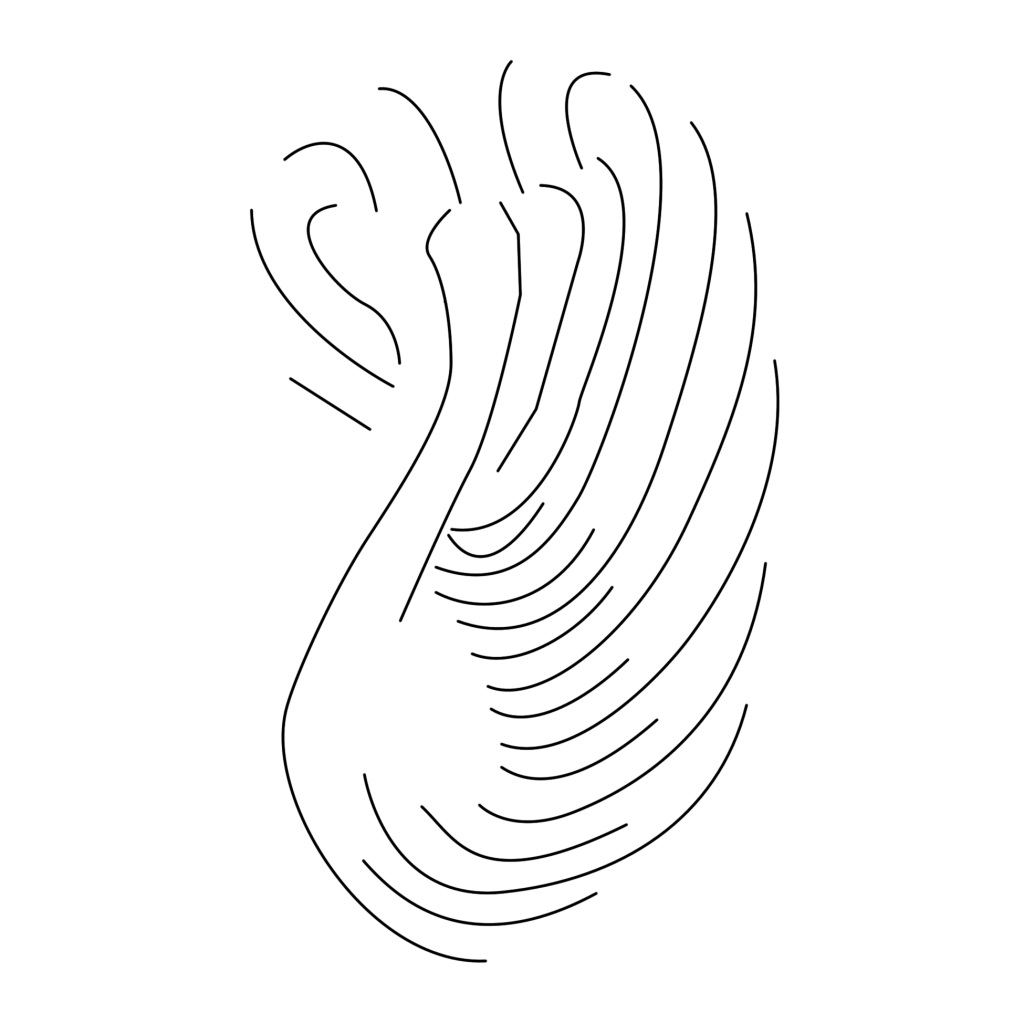
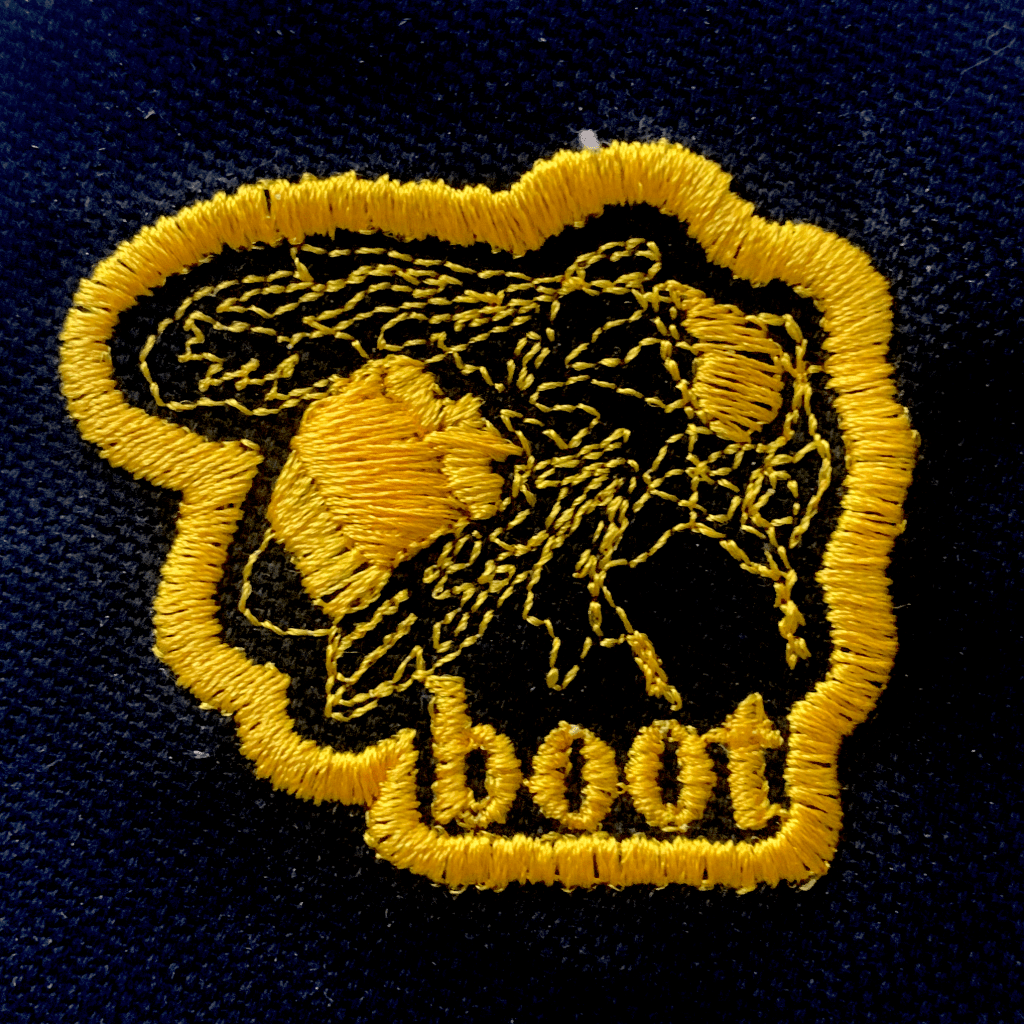
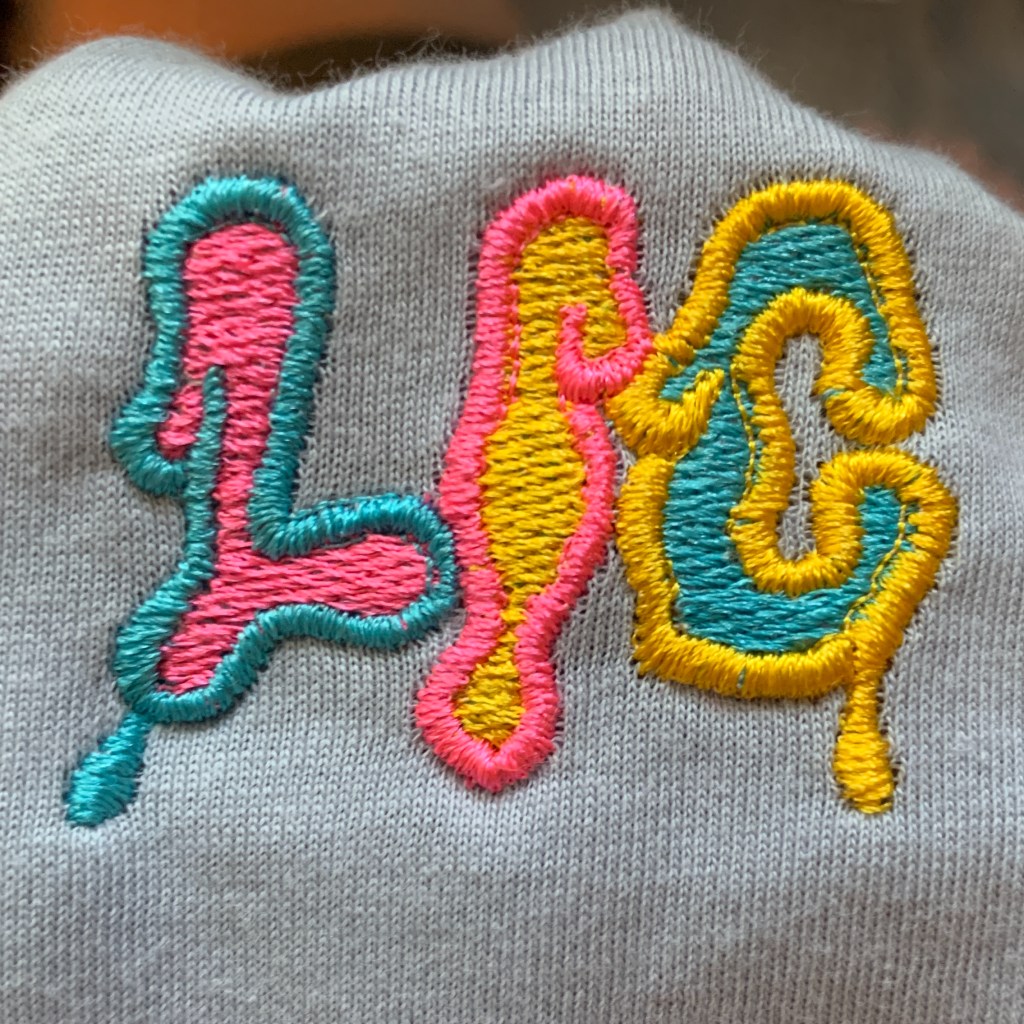
In the first gif, you can see that I’m using the existing bezier curve mechanism to generate a simple line of stitches that can be resampled from to adjust stitch length. On the right, you can see I’m sort of free-handing a curve. A few modifications were made so that when using a Wacom drawing tablet, you can intuitively illustrate complicated running stitches throughout the design. I used a Wacom Intuos tablet to illustrate the detail on the honey bee shown above.
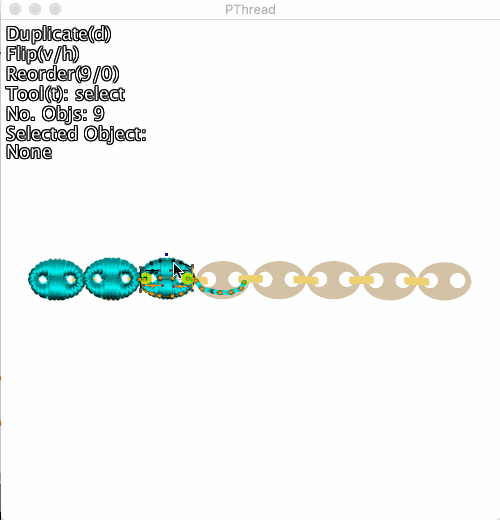
Finally, all of these different types of objects are reconfigurable after they are digitized. I use a simple JSON-based file system to store designs as objects which can be revisited and edited at any time. Functions for duplicating, scaling, and rotating objects are super useful in certain applications!


Leave a comment