
Influence
I was a student of the School of Art, but throughout my freshman year at Carnegie Mellon I took a number of coding courses that taught me the basics of languages like Python, and C# with the goal of double-majoring in computer science. I became more and more interested in the possible applications of manipulating data, and I began periodically attempting to figure out how to generate stitch files using code when I wasn’t bombarded with assignments. My Sophomore year I took my first art-focused coding course, Interactivity and Computation with Golan Levin. It made me realize just how nuanced and personal coding could be, which was refreshing after semesters of completing assignments that were functionally identical to every other student’s work. Figuring out how to write embroidery files stitch-by-stitch became my main focus the following summer of 2019.
A turning point was discovering the Pyembroidery library. This library contains functions for reading and writing to an extensive list of embroidery file formats, including PES which is read by my machine. Having done much of my class work for Interactivity and Computation in Processing with Java, I was comfortable experimenting in it making stitch visualizations, saving the final stitch paths in text files to be read by a secondary Python script. This would ultimately convert these text files to embroidery files that could be read by my machine.
Early Tests
My first experiments involved generating simple visualizations and then applying algorithms to convert each line into a series of stitches.


In this example there are two concentric circles that the stitch path darts between. The inner circle is sampled to revolve at twice the rate of the larger one to form this pattern. Each line is segmented into stitches by incrementing from the first point to the end point is reached. Doing this initial test I realized the constraint of designing patterns to include a single stitch path, eliminating jump stitches. I also discovered how too many overlapping stitches can cause problems with the machine due to the excessive resistance. I had to restitch this pattern several times with reduced stitch density to get this final result.
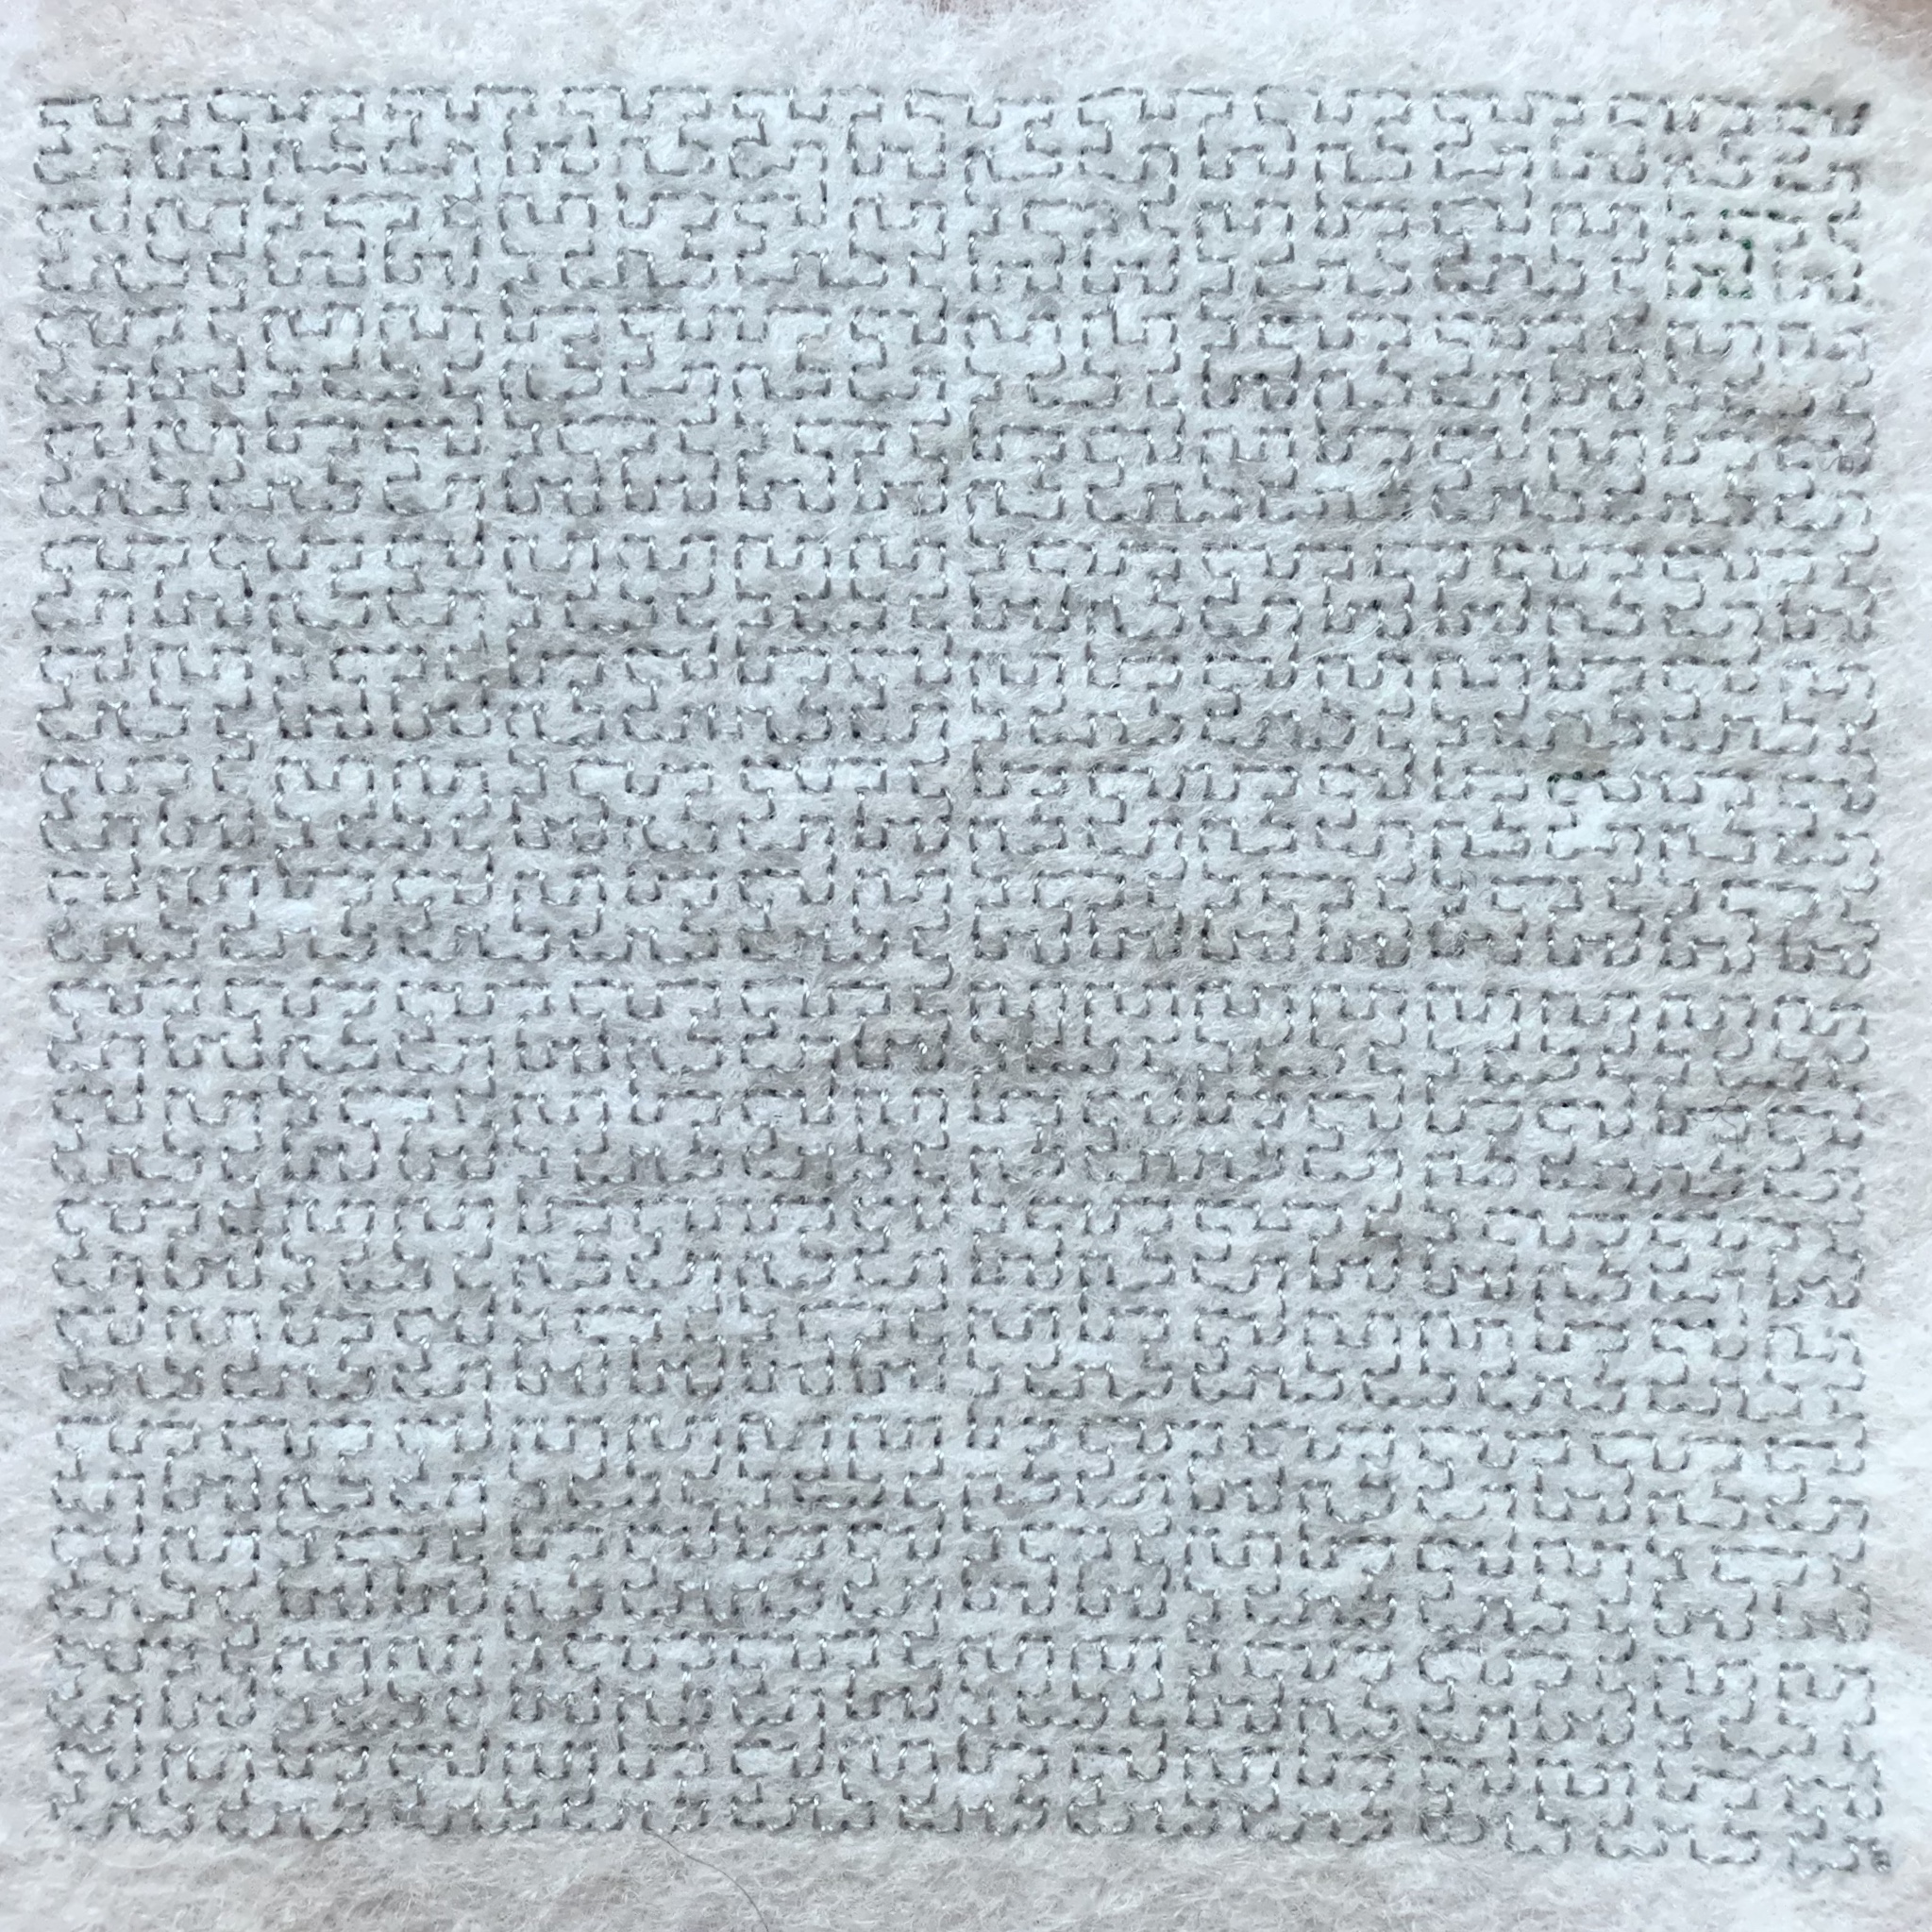
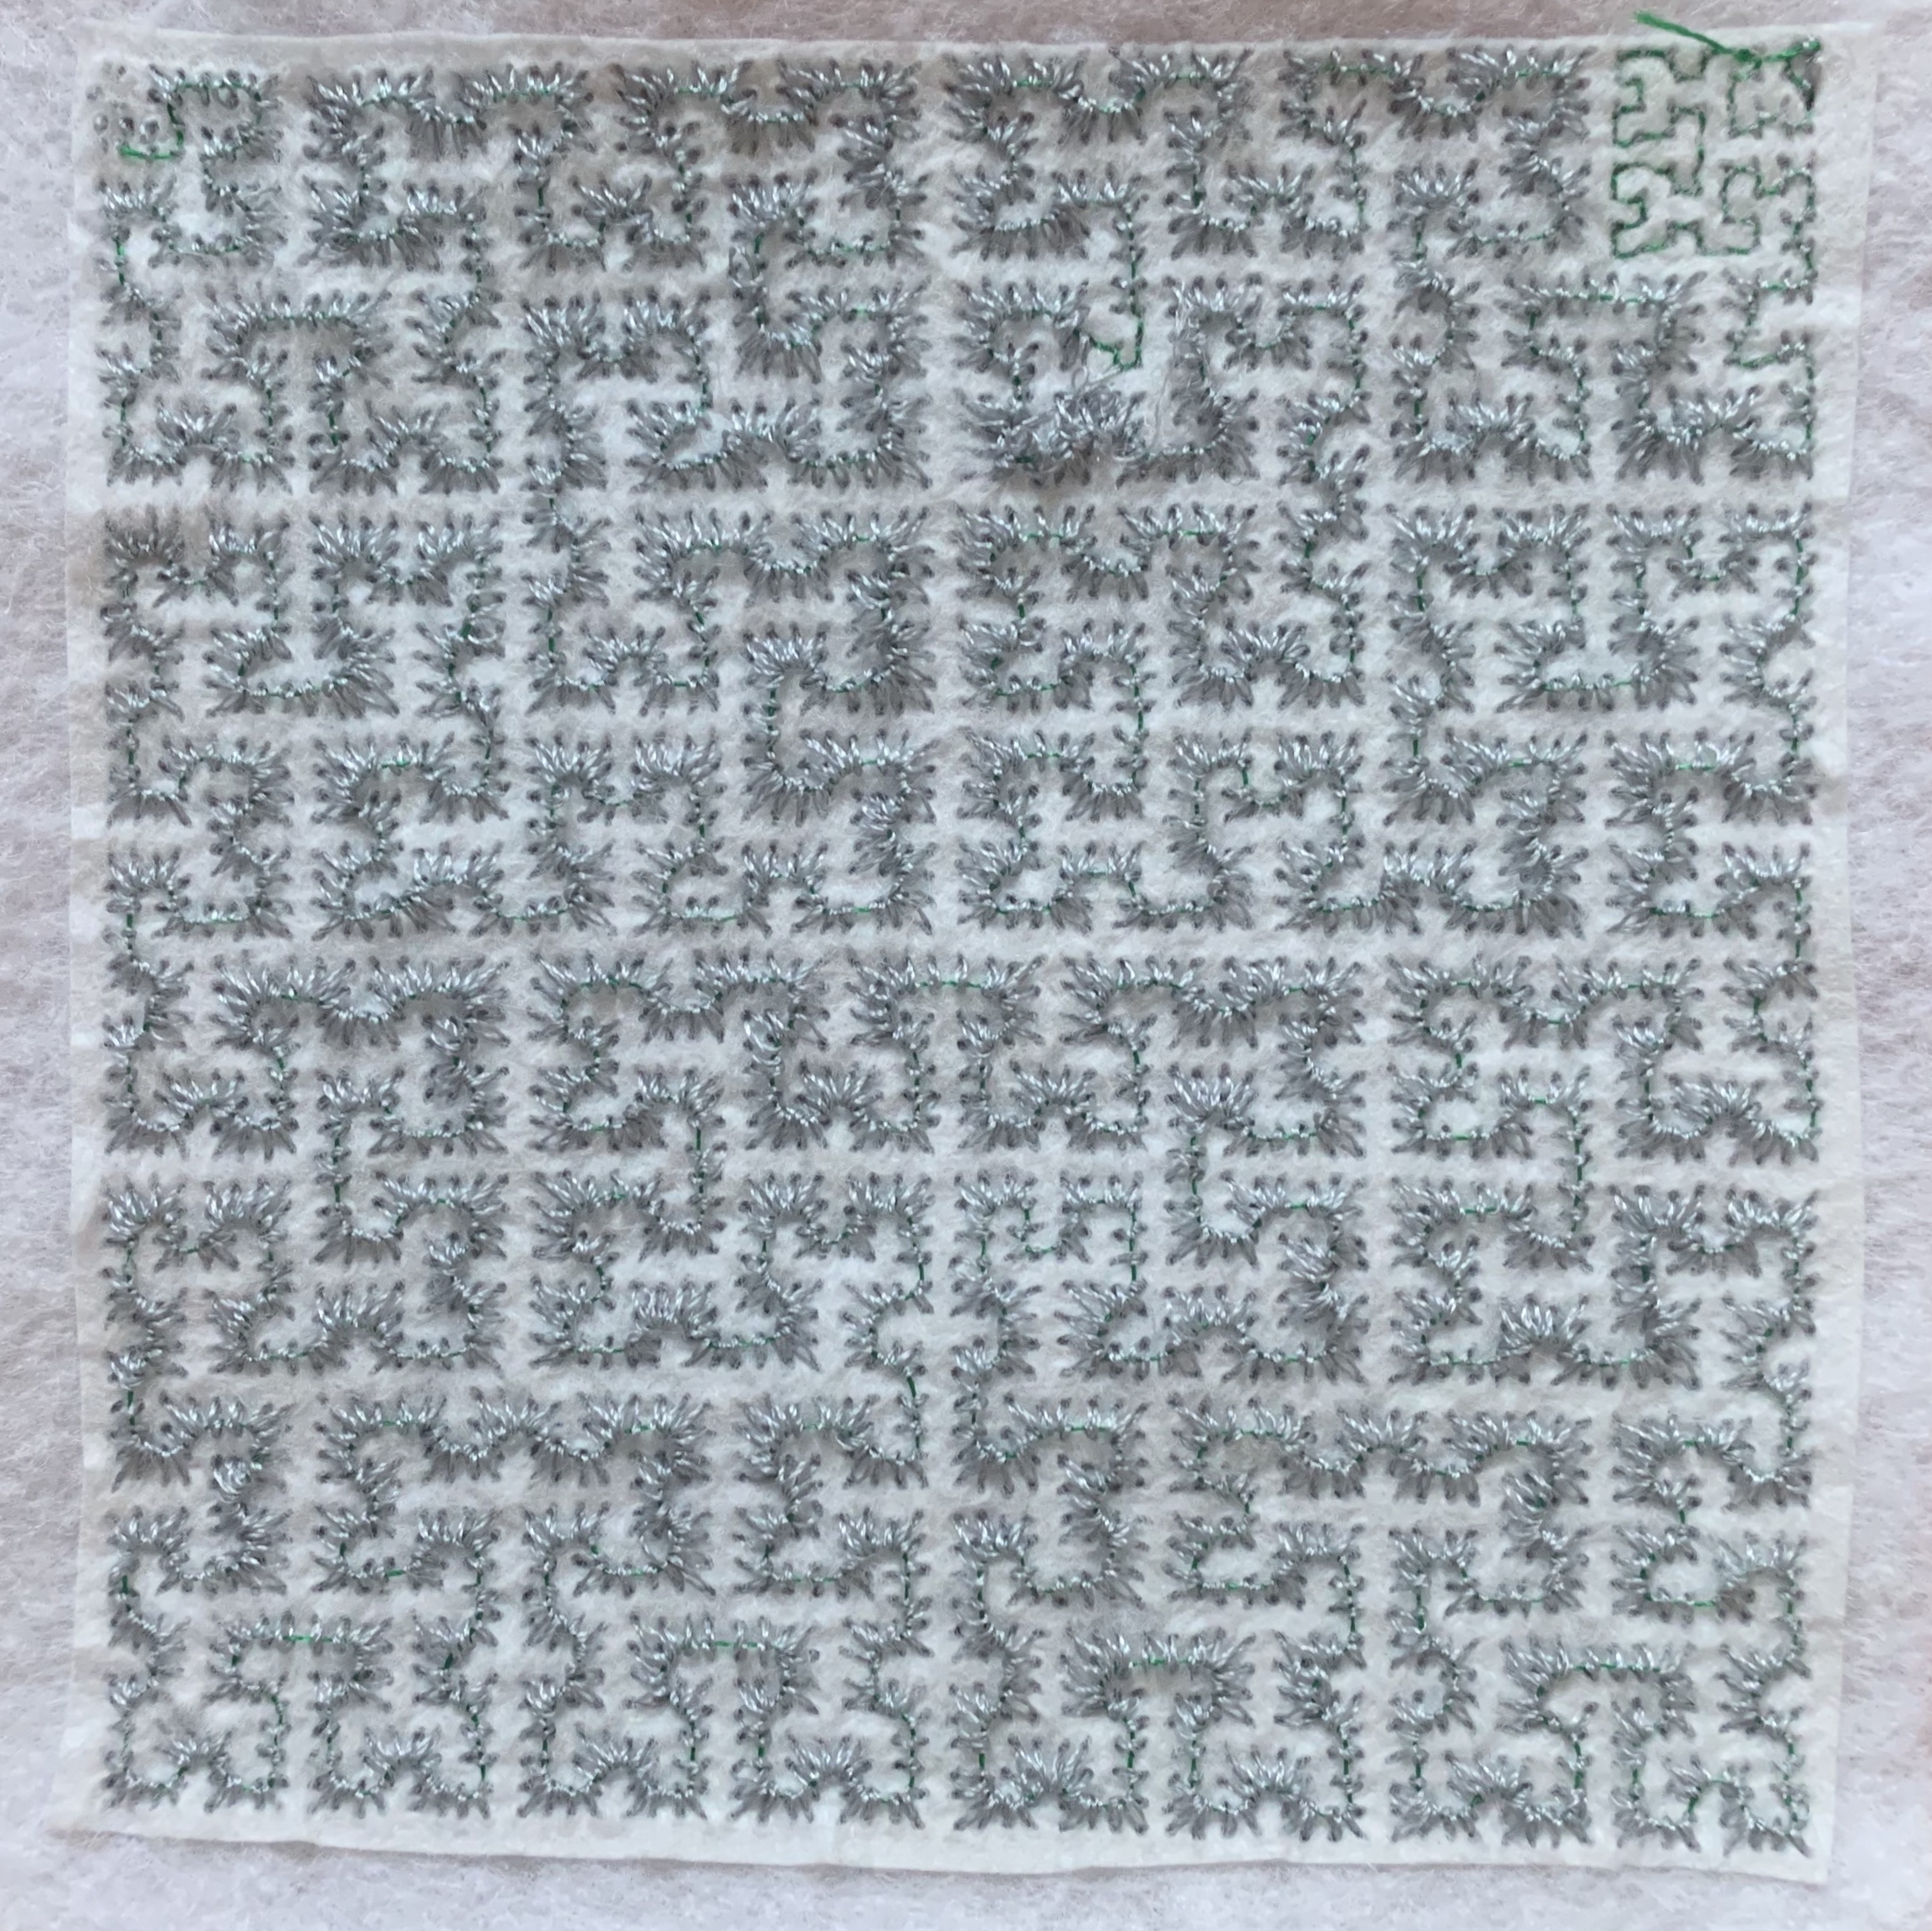
Another early test I did was implementing the Hilbert Curve fractal with stitches. I was inspired by the article “Meandering Code” by Martin Schneider on DevArt about embroidering fractals. I ran a series of six curves, each a higher iteration curve than the last, and joined them into a cube.

An interesting effect appeared when I was running the level 6 Hilbert Curve (in light grey). When the piece was finished I found that a level 5 Hilbert Curve had emerged on the reverse side of the material. Because the bobbin thread was tighter than the top thread, part of the resolution was lost, grouping the smaller components distinguishing the level 6 from level 5 into curved lines. You can see the transition between full resolution and the lost resolution in the upper right corner of the reverse side where I decreased the upper thread tension during stitching.
Fill Stitches
After these tests, I decided to try and create my own fill stitch algorithm to emulate the features of the SewArt software I had previously used in order to ultimately allow for experimentation once I had my own version working in a language I could manipulate.

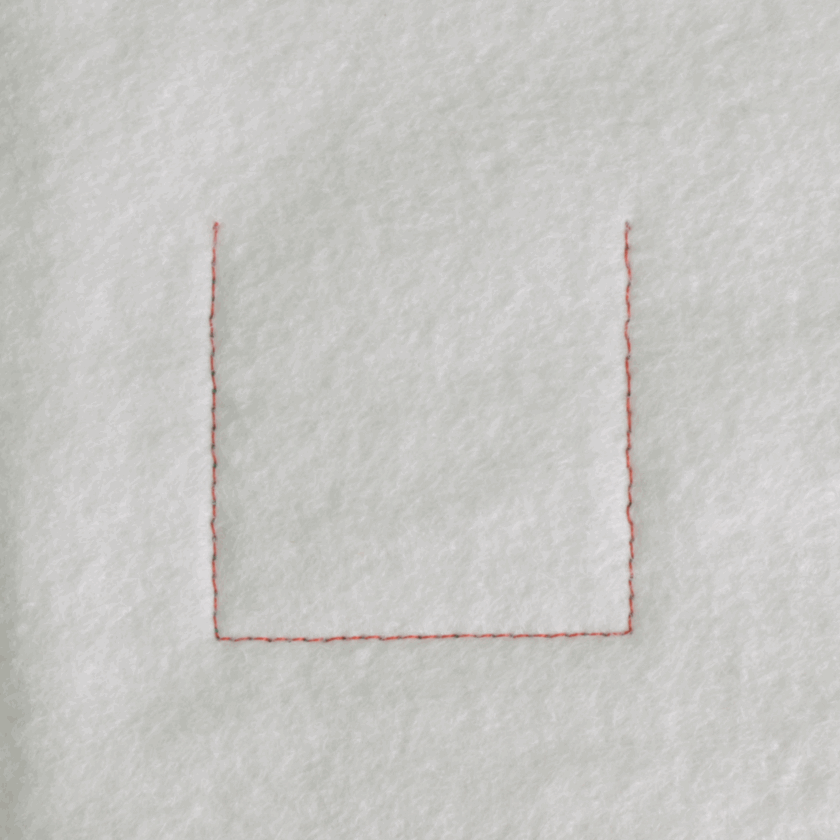
I started by creating a program that could generate fill stitches for simple rectangles. Creating stitch paths to fill rectangles was relatively simple because each line can be treated identically. To align the stitches with vertical lines, I used a mod function scaled to increment by the desired stitch length across the canvas horizontally. From there I tried continuously offsetting consecutive rows to achieve different effects. In the first sample I offset each row by almost half of the stitch length to get a more consistent fill with little presence of hard lines.
The third sample was done the same way with less offset between rows, and for the middle one I increased the offset increment slightly after each row starting at zero.
I found that I could achieve warping effects within the stitches by using sine wave deformations. The vertical waves [s] just required changing the offset of the modulation (which I was doing anyways to get slanted lines). To achieve the horizontal wave [~], I first deformed each column of pixels in the image according to a wave function, then generated the stitches (using the fill stitch algorithm I describe in the next section), and finally inverted this warping in the stitches to retain the original shape.
I also experimented with incrementing stitch separation over each row to achieve gradient effects. I did two passes of these samples, each with a different colored thread. The side where each color appears is where it is stitched at full density and then reduced to zero by a square function as it reaches the opposite side.

Segmented Fill Algorithm
Creating a general algorithm for filling any shape became much more complicated than I expected. I first started by trying to reverse engineer patterns I had previously created in SewArt using the Pyembroidery library to write a script that allowed me to scrub back and forth watching each individual stitch as it would be placed.
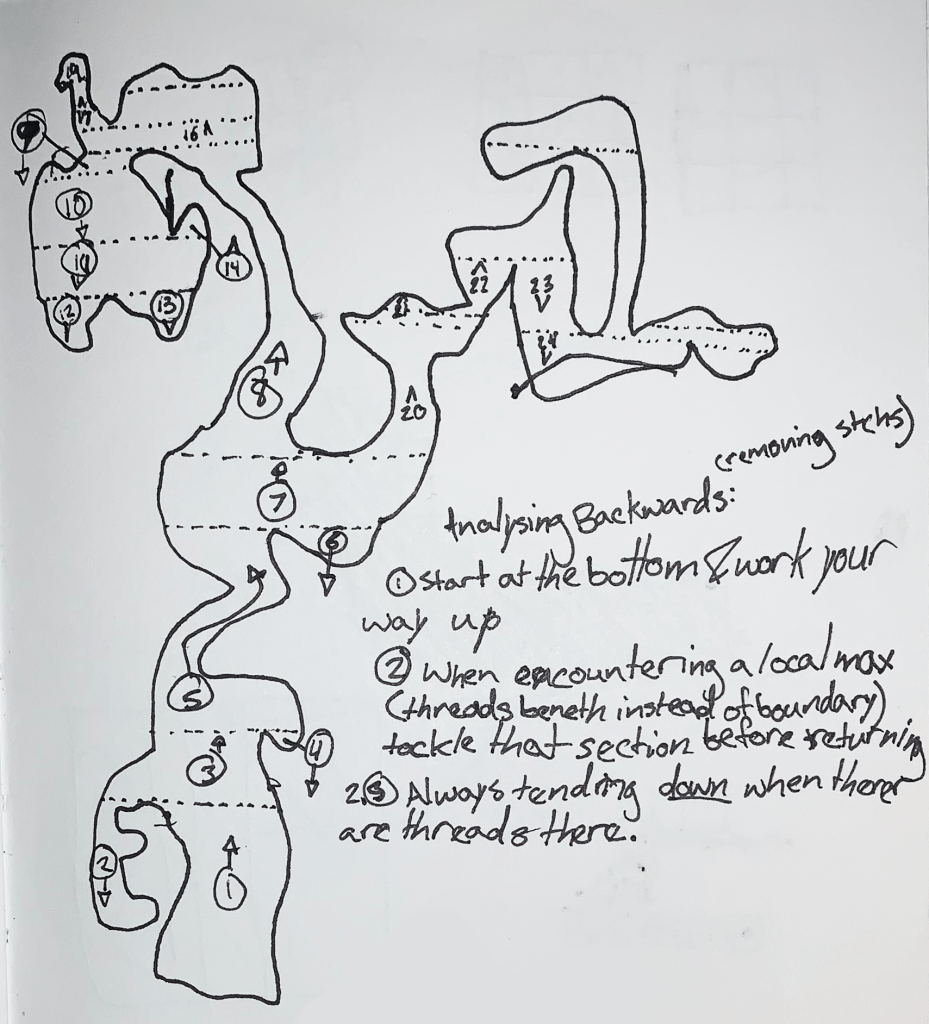
The first thing I noticed was that the shape seemed to be divided into discrete segments that could be stitched continuously. A “clean” shape must be able to be represented by a continuous, single-dimensional stack of rows. This meant subdividing the entire shape at each local maximum and minimum of its perimeter along the axis perpendicular to the direction that the stitches are ran (horizontal stitching requires y-axis minimums and maximums).
This seemed intuitive to me, but it was confusing trying to make sense of the order that these shapes were stitched. That is until I tried running the program in reverse.

Starting from the bottom, once it reaches a local maximum (the top of block(1)), the stitches are continued in the opposite direction (down) to fill the shape that was previously missed. Looking at block(2) above, you can see that once it reaches the bottom of that segment, it must travel over the finished segment to start stitching block(3). This would be a problem if this was the final stitch order, but since it is reversed for the final stitch path, these bridging stitches are covered by the final fill of that segment. This pattern can be iterated over the entire shape as long these bridges only travel across finished segments of the reversed path.


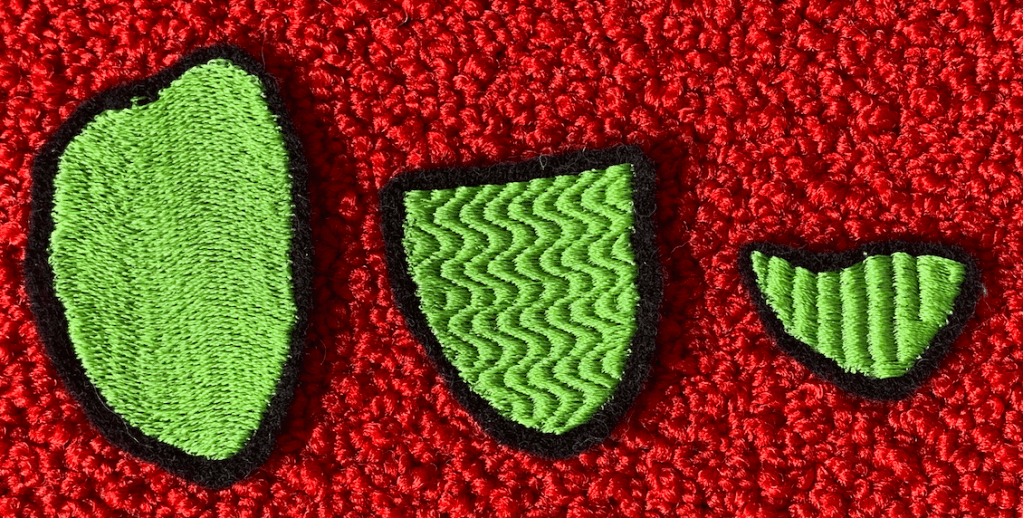
These were the results I was able to achieve with this algorithm. The sample on the left has no consideration for where the inner stitches lie, while the samples on the right are corrected to control inner-stitches similar to the way described before.
Other Fill Stitch Experiments
From here I wanted to be able to control the fill pattern so that I could make different effects appear within the shape body.
I ended up writing a Processing program that could be given two black and white images. The first is a solid shape to be filled, and the second is a white background with black lines defining where the inner stitches will lie.


Leave a comment